

Recently I bought a used - well, a really used - Amiga 1200 and decided to pimp it a bit just to reminiscence my youth. My plan was as follows: Disassemble the machine, mod the housing for the fantastic HxC floppy emulator, varnish the housing and put a 68030 accelerator card in it.
 Well, disassembling is not that difficult (keeping the screws together over some weeks is different from that!). Before the varnishing I drilled three holes directly under the slot of the floppy drive. This should become the "front panel" of the HxC emulator (two keys for up/down, the middle one for select).
After that I thought a while about the display of the emulator. Although it's not necessary to have it connected, because there is some sort of manager software available for the Amiga, I decided to do it "the right way".
 So I "dremeled" a hole in the middle of the upper part of the top case and put a black display frame there to hide the roughness of the border due to my limited drilling experience! ;)
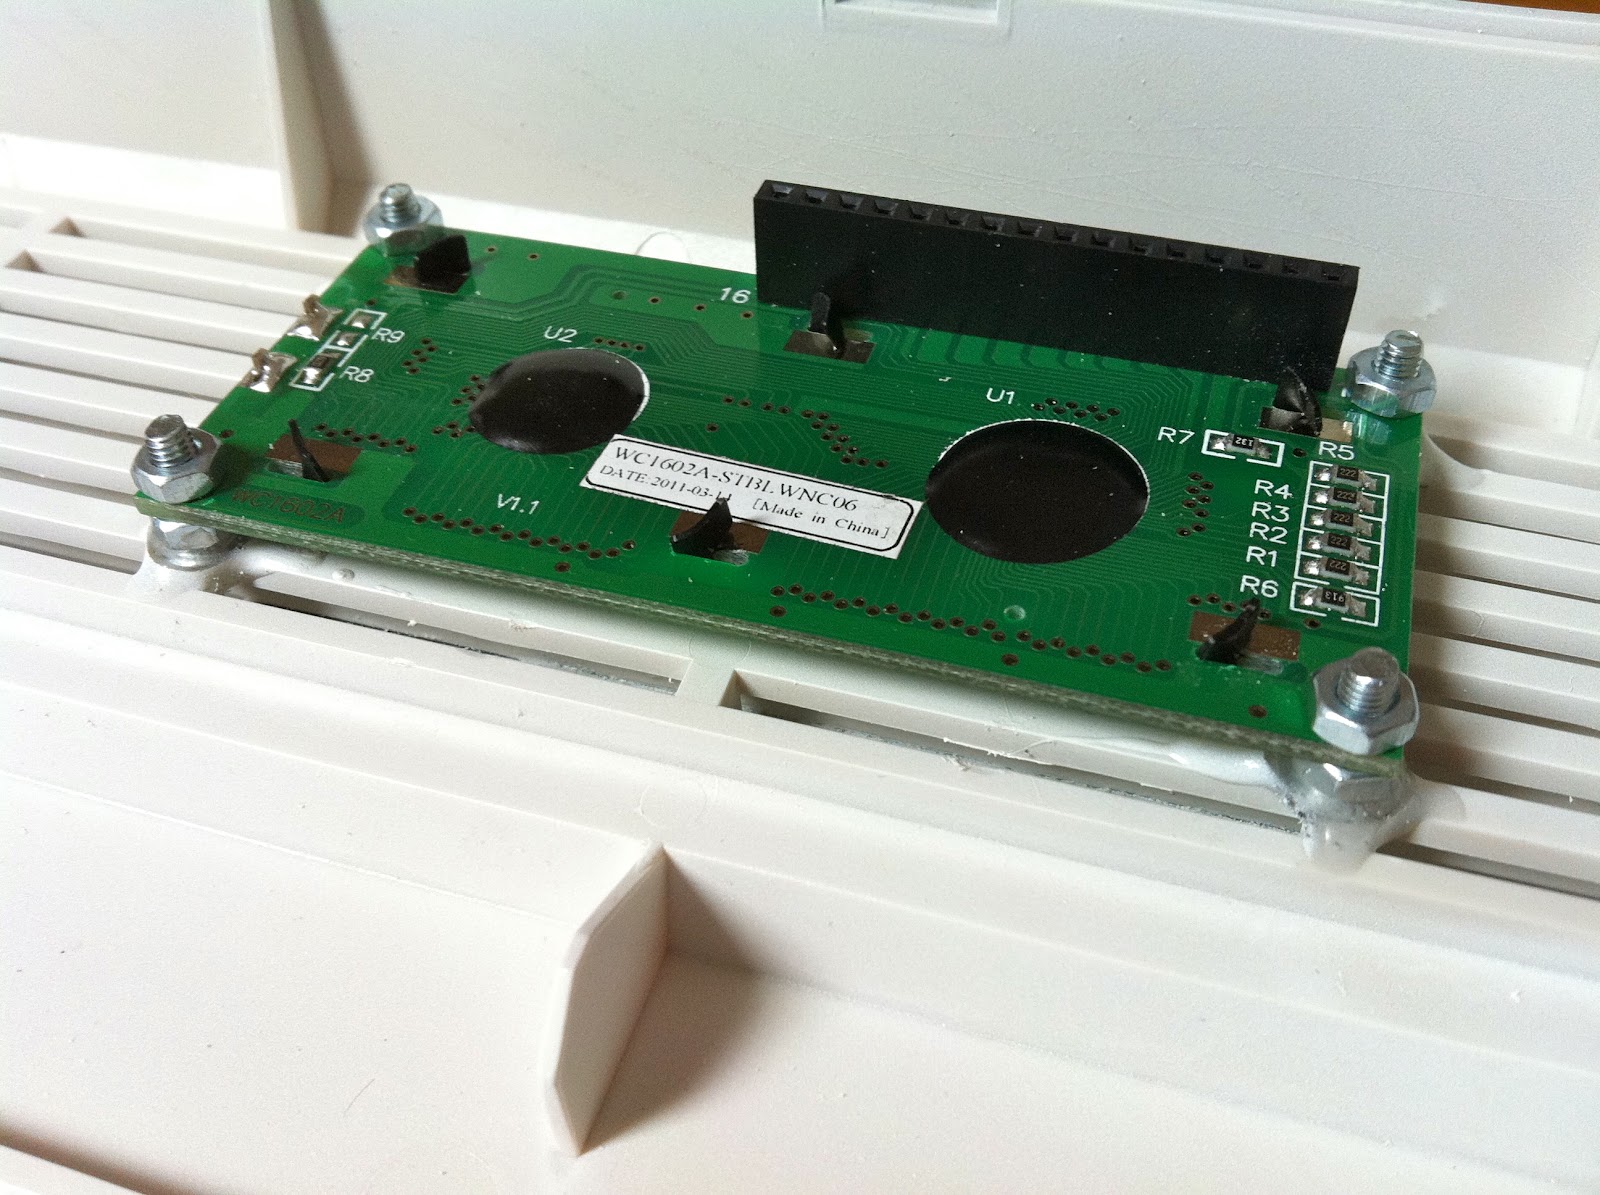
Now I had to mount the LCD from the backside of the top case so it fits nicely under the display frame. I glued there four screws with a nut on each for the right distance to the case. To my surprise it fits really good. ;)
 Than I glued the display frame on the top case and took a break. It was too easy, wasn't it?
Now I had to find the right place for the floppy emulator. It's halve the length of a real floppy. First I tought about of replacing the internal drive of the Amiga, but than I decided not to do so because of nostalgic reasons. So I found a place directly above the video port. If you remove the electrical shield (what is necessary for many other extensions, too) there is plenty of room.
 Although I thought I finished all the drilling work I found out that there must be some access to the SD card reader of the emulator. ;) So once again I turned on the Dremel and drilled a small slot for the SD card.
Well, work done. Time for varnishing. I considered doing this myself with some varnish spray but then decided to let it do someone more professional. Well, the local varnisher did his job at least "ok". I'm a bit disappointed of the quality but it's probably far more better than what I could have done with my own varnishing skills.
So here are the results of the local varnishing vote:


Ok...so now for the mounting of the floppy emulator. I "dremeled" out two plastic plates and mounted the emulator on it with four screws and a nut on each as a distance holder. Than I glued the plastic plates on the left inner side of the top cover.


 Now I installed the "front panel" connector. As the floppy emulator has a 14-pin header for connecting the buttons (and the LCD, too - but I didn't connect it there) I soldered an adapter and connected the buttons to the appropriate pins.
 That was easy. ;)
 They only have to be connected to GND. I did a "first shot soldering". Everything worked fine after a short multimeter test.
So now I headed for the assembly of everything.
And here are the final results with the wiring.


